
CHICAGO (WLS) — Getting one picture frame perfectly straight can be more challenging than it looks.
Add several frames that need to line up at the same height, and the project can quickly turn frustrating, often ending with extra nail holes scattered across the wall.
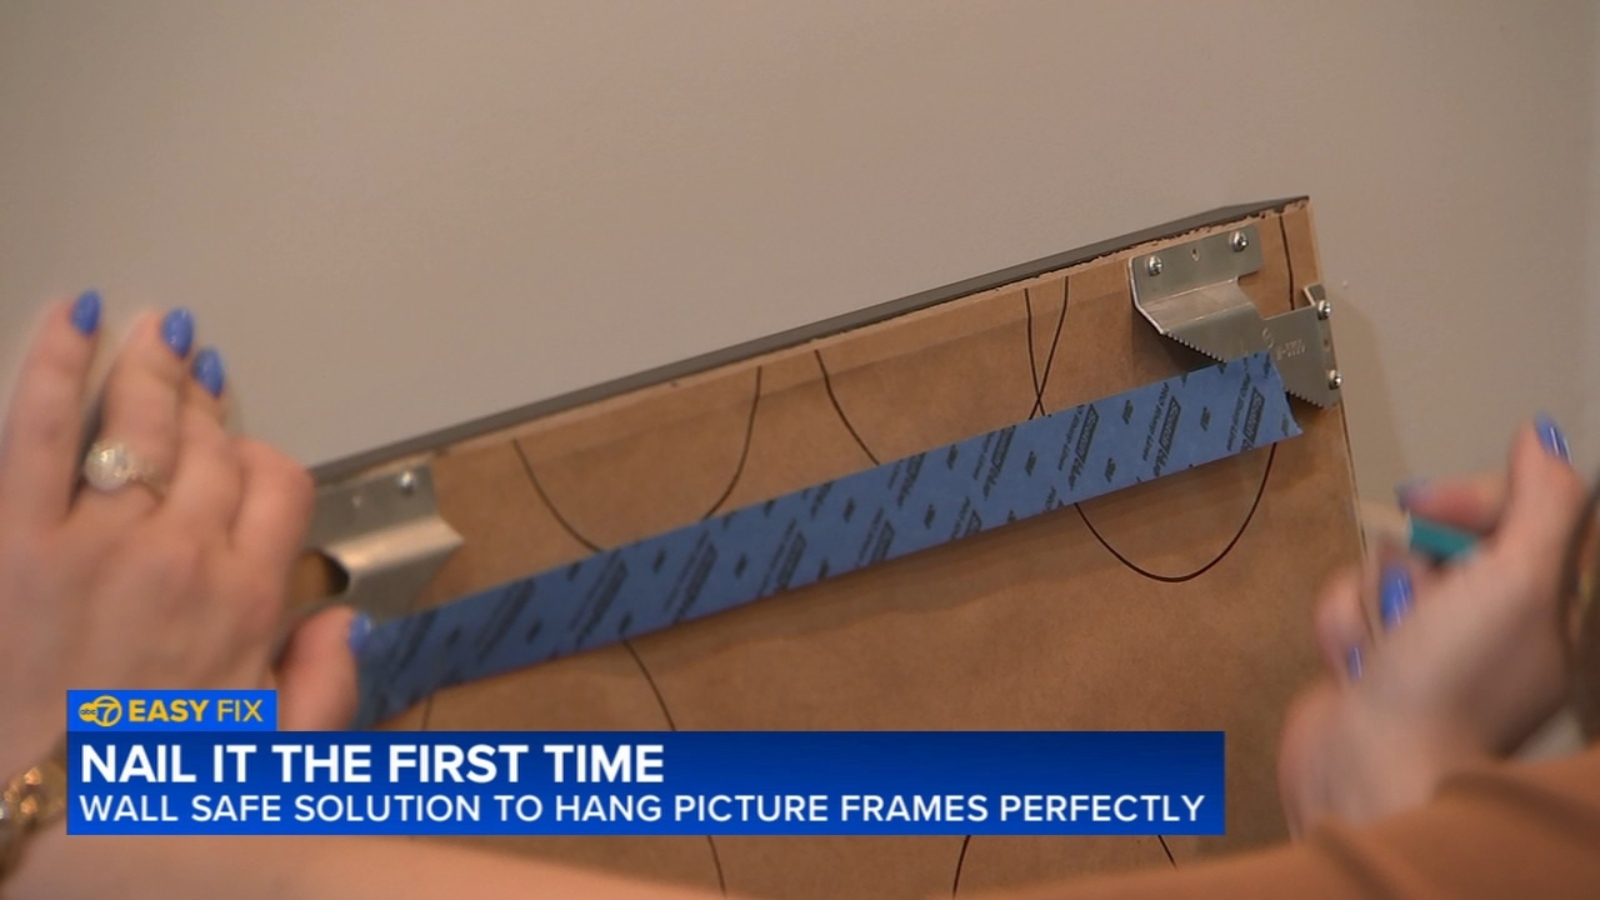
Casey Finn of DIY Playbook shares an easy painter’s tape technique designed to remove the guesswork from hanging frames and help keep everything level on the first try.
The trick uses tape as a temporary guide, letting you mark the precise nail placement before you put any holes in the wall.
RELATED: Violent J Allegations Of Pedophilia, Controversy Explained
SUPPLIES
Picture frames
Painter’s tape
Level
Pencil
Hammer
Nails
Tape measure
STEP-BY-STEP: HOW TO HANG FRAMES PERFECTLY
Step 1: Locate the center of the wall
Measure across the wall and mark the midpoint. Next, decide how high you want the frame or gallery wall to hang and add a light pencil mark at that spot.
Step 2: Make a tape template
Run painter’s tape along the back of the frame, placing it in line with the hanging hardware. Mark exactly where the hooks, wire or hangers fall on the tape.
Step 3: Mark the tape’s midpoint
Measure the strip of painter’s tape and identify its center so the frame can be positioned evenly on the wall.
Step 4: Move the template to the wall
Stick the tape to the wall, matching the tape’s center mark with the mark you made on the wall. Check it with a level before hammering.
Step 5: Add the nails and hang the frame
Hammer nails into the marked spots on the tape, peel the tape away, and place the frame on the wall.
IMPORTANT NOTES
Painter’s tape serves as a simple removable guide
Check that the tape is level before adding any nails
This approach is especially helpful for gallery walls or multiple frames
Copyright © 2026 WLS-TV. All Rights Reserved.


